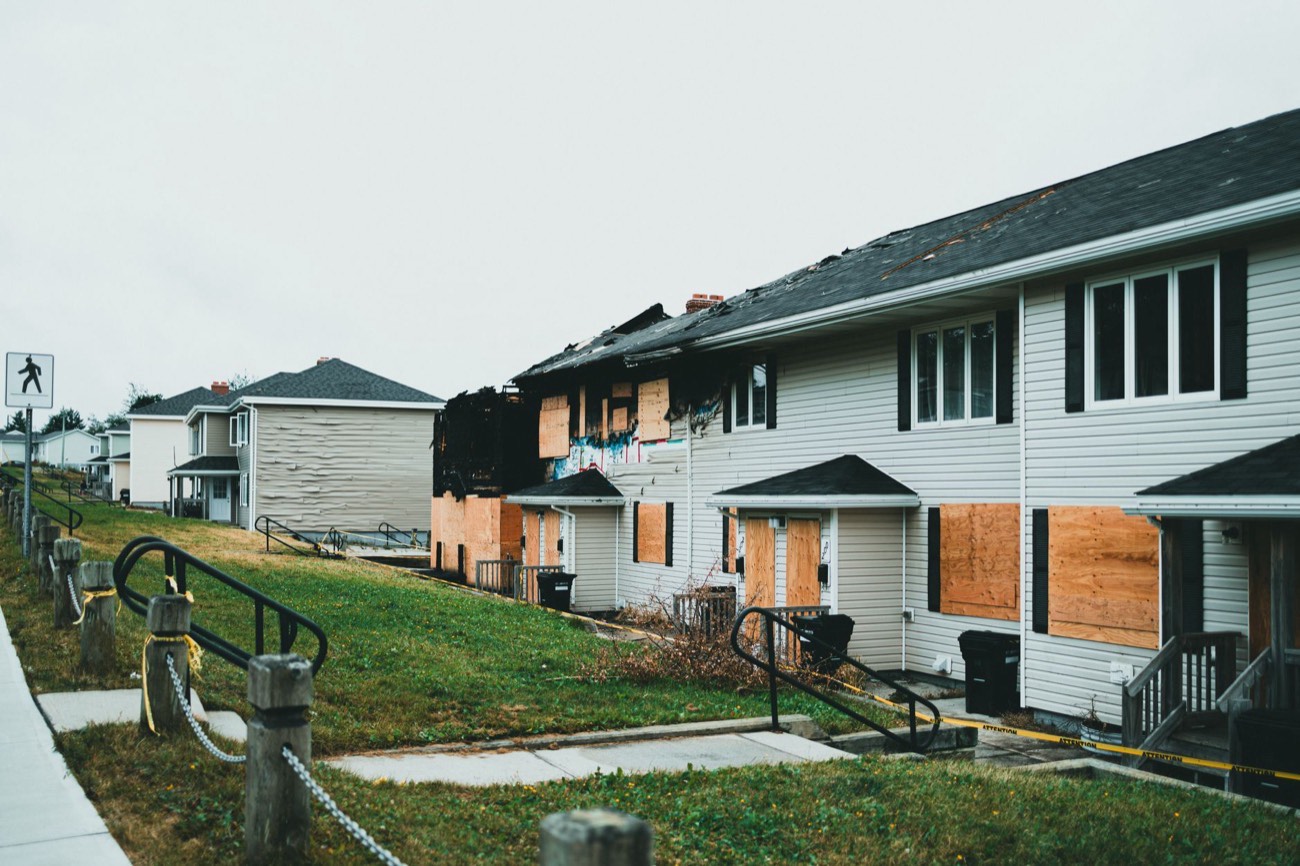
To document home damage for an insurance claim, photograph and video every damaged area and item from multiple angles before you clean up, then build a room-by-room inventory listing each item’s age, condition, and value. Gather receipts, model and serial numbers, and any older photos that show the property in good condition. Keep receipts for temporary repairs and living expenses too. The goal is simple: create so much independent evidence that the insurer cannot easily undervalue or deny your loss. Insufficient documentation is a common reason claims are underpaid or denied. This is general information, not legal advice.
Why documentation decides your payout
When you file a claim, the burden is on you to prove what was damaged and what it was worth. The adjuster estimates the loss, but your documentation is what pushes that estimate toward a fair number. According to the Texas Department of Insurance, insufficient documentation is one of the common reasons claims are denied or underpaid. Strong evidence does three things:
- It establishes the item existed and was in good condition before the loss.
- It supports the value you are claiming.
- It counters lowball estimates by giving you specifics the adjuster cannot dismiss.
What to document, at a glance
| Evidence type | What it proves | How to capture it |
|---|---|---|
| Wide photos/video | The overall scene and extent of damage | Slow pans of each room and the exterior |
| Close-up photos | Specific damage and item details | Multiple angles, plus serial/model numbers |
| Room-by-room inventory | What was lost and its value | List with age, condition, cost, and a photo |
| Receipts & statements | Purchase price and ownership | Save physical and digital copies |
| Model/serial numbers | Exact item for replacement pricing | Photograph the label on each appliance |
| Pre-loss photos | The property before the damage | Old phone photos, listing photos, prior inventory |
| Repair/expense receipts | Reimbursable emergency and living costs | Keep every tarp, hotel, and meal receipt |
Step 1: Photograph and video before you clean up
The single most important rule: capture the damage before you touch it. Once you clean up, move debris, or make permanent repairs, that evidence is gone.
- Video first. Walk slowly through each room and around the exterior, narrating what you see and when it happened.
- Then still photos. Take wide shots showing the whole room, then close-ups of specific damage.
- Multiple angles. One photo of a water stain is weak; five angles showing the source, spread, and affected items is strong.
- Get the details. Photograph model and serial numbers on damaged appliances and electronics — insurers use these to price replacements.
You may make temporary repairs to prevent further damage (tarping, boarding up), but photograph the original damage first and keep the repair receipts.
Step 2: Build a room-by-room inventory
Go through your home one room at a time and list every damaged item. For each entry, record:
- Description — what it is (e.g., “55-inch LED television”).
- Brand and model — as specific as possible.
- Age — roughly when you bought it. Age drives depreciation.
- Condition before the loss — new, good, worn.
- Value — the purchase price, or the current cost to replace it new.
- A photo — of the item and its label.
Age and condition matter because of how payouts are calculated. On an actual cash value basis, insurers subtract depreciation for age and wear; on replacement cost, they do not. Documenting an item’s true condition helps you argue against excessive depreciation. See actual cash value vs. replacement cost for how each basis affects what you are paid.
Step 3: Gather proof of ownership and value
Receipts are ideal, but you have other options when you don’t have them:
- Credit card and bank statements showing the purchase.
- Model and serial numbers matched to current retail listings.
- Owner’s manuals, warranty cards, and original packaging.
- Old photos — vacation pictures, listing photos, or social media posts that happen to show the item in your home before the loss.
The more independent sources you provide, the harder it is for the insurer to undervalue the item.
Step 4: Keep pre-loss evidence — before you ever have a claim
The best documentation is created before disaster strikes. If you haven’t had a loss yet, do this now:
- Record a walkthrough video of your whole home, room by room, opening closets and drawers.
- Photograph high-value items and their receipts.
- Store it off-site — in the cloud or with a trusted person — so it survives the fire, flood, or storm that destroys the originals.
A pre-loss inventory turns a stressful, memory-dependent claim into a matter of pulling up a file.
Step 5: Track repair and living expenses
Documentation isn’t only about damaged property. Keep receipts for:
- Temporary/emergency repairs — tarps, board-up, water extraction.
- Additional living expenses if your home is uninhabitable — hotel, meals, laundry.
- Professional estimates you commission from contractors.
These are frequently reimbursable, but only if you can prove them.
Step 6: Organize everything in one place
Scattered evidence is easy to lose and hard to present. Put it all together:
- A single folder or cloud drive with subfolders per room.
- A spreadsheet or document for the inventory.
- Copies of the police or fire report if one exists.
- Your loss narrative — a plain, factual account of what happened.
Bring this organized package to the adjuster’s inspection. When you can hand over a clean, itemized record, the claim moves faster and disputes become easier to win.
How documentation protects you if the claim is disputed
If the insurer’s offer is low, missing items, or the claim is denied, your documentation is what you fight back with. You can present your photos, inventory, and receipts during the insurer’s dispute process, invoke your policy’s appraisal clause if there is a disagreement over the amount, or escalate a complaint to your state Department of Insurance. For large or complex losses, a licensed public adjuster will use exactly this kind of evidence to negotiate on your behalf.
Good documentation is the thread that runs through every stage of a claim. Once yours is organized, walk through how to file a homeowners insurance claim step by step. And if your claim is denied despite solid evidence, see what to do when a home insurance claim is denied.